• FREE GROUND SHIPPING ON ORDERS $200+ DETAILS

RV Wheel Simulators

RV Wheel Simulator Installation & Removal

When installing wheel simulators, it's important to follow any instructions provided to prevent damage to the wheel or cover and ensure the simulator is secured.

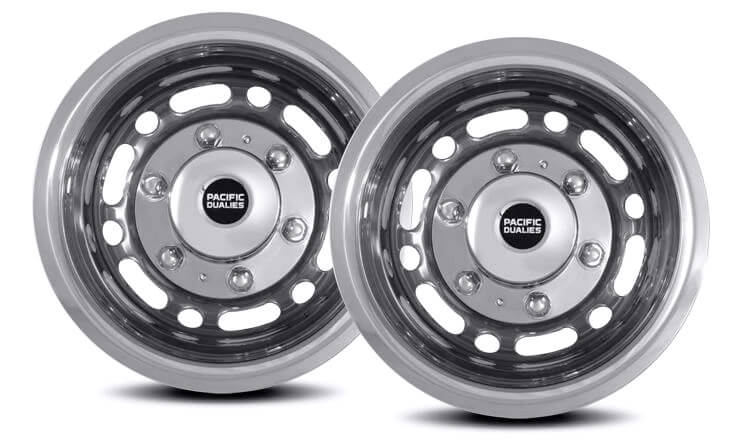
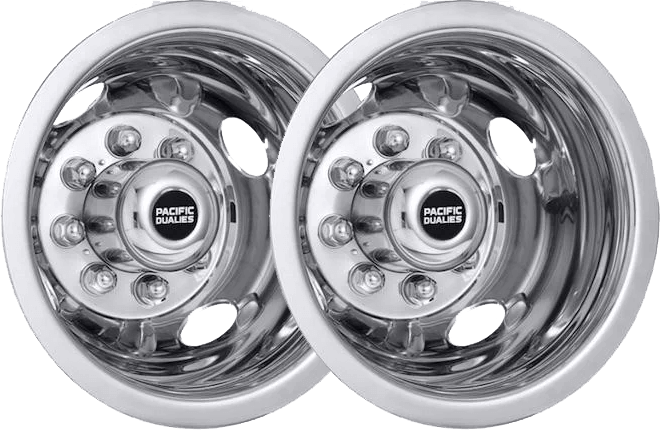
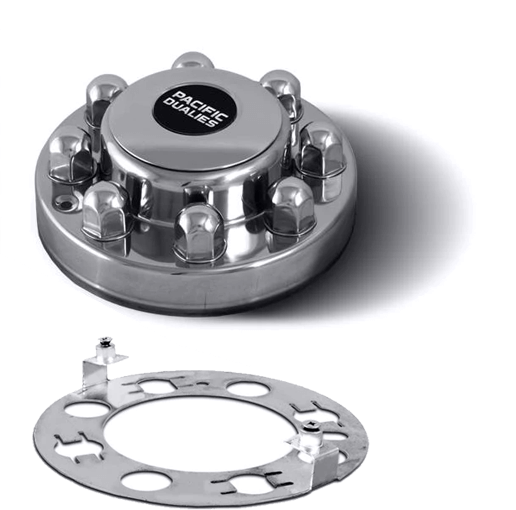
When you purchase RV wheel simulators from Pacific Dualies, we'll send you the tools and instructions you need to install them, specific to the model and size you chose, so that your installation is successful and stress-free.

Installing Wheel Simulators On An RV

If you've never installed RV hubcaps, wheel covers, or wheel simulators before, the idea of installing wheel simulators on your RV by yourself may seem intimidating. But no matter what type of wheel simulator you've purchased, installation tends to be relatively simple with the right tools and knowledge. As you can see in this unboxing video, when you order RV wheel simulators from Pacific Dualies, you'll receive not only the product itself but also the tools necessary for installation, making your work significantly easier.

Wheel Simulator Installation Videos

Part # 38-1608

Chevy Trucks and Vans / Dodge Trucks and Vans / Ford Trucks and Vans

for older Chevy vehicles that use an OEM stud plate. For 16" wheels, 8 lugs
(Chevy 3500 trucks from 1975 - 2000, and Chevy Vans 1976-2003)
(Dodge trucks, and vans: 1975-1999)
(Ford F350 trucks from 1975-1998, Ford Vans, Box Trucks E350/E450 series, 1975-1998, and 2009-2023)

​​Part # 49-1608

Chevy / Ford

Part # 32-1950 and 32-1950A

Ford

For 1999-2004 Ford F450, F550 - 19.5" 8 Lugs (These kits are for Ford only)

Part # 29-1608

Chevy

for 2001-2007 Chevy trucks, and 2004-2023 Chevy Vans. (This kit is for Chevy Only)

How to Install Different Types of RV Wheel Simulators

At Pacific Dualies, we sell three primary types of wheel simulators. Installation methods will vary depending on which type you choose, so double-check your order before purchasing to ensure the simulators are compatible with your vehicle.

Snap On RV wheel simulators

Snap-On Wheel Simulators

  1. Align the rear or front wheel simulator to the appropriate wheel
  2. Push the simulator onto the wheel with some force. You need to ensure the simulator snaps into place before moving on.
  3. Repeat the process for the remaining wheels.

over the lug wheel simulators

Over-the-Lug Wheel Simulators

  1. align the simulator on the corresponding wheel (front or rear) without removing any lug nuts; depending on the number of holes in your simulator, the same number of lug nuts should slide through.
  2. Bolt on the lug nut covers and affix them with the specific tool provided with your order – do not use an impact wrench for this process.
  3. Then, simply press the center plates onto the middle part of the wheel cover to complete installation.

lug nut wheel simulators

Lug Nut Wheel Simulators

  1. For this type of wheel simulator, you will need to remove every other lug nut from your wheel before placing the simulator.
  2. Every other stud should pass through the holes on the simulator, and you will need to return the removed lug nuts to secure the simulator to the wheel.
  3. Finally, you'll place the provided lug nut covers over the re-installed lug nuts, then repeat the process for your remaining wheels.

bolt on wheel simulators

Bolt-On Wheel Simulators

  1. When installing bolt-on simulators, remove all of the lug nuts from each wheel before placing the simulator.
  2. You'll fasten the lug nuts onto the wheel simulator using a retainer ring, then affix the center cap onto the retainer ring with provided screws.

How to Remove RV Wheel Simulators

RV wheel simulator removal and reinstallation is easy; depending on the type of simulator you have, you may need to use additional hardware or a specific RV wheel simulator removal tool.

To remove a snap-on wheel simulator from your RV, you simply need to pry around the edges of the wheel simulator until it loosens and pops off.

Removing any other type of RV hubcap or wheel simulator typically requires the use of the tools you used to install them. It is always advised to store the tools you receive with your purchase so that you have them on-hand if you need to remove the wheel simulator for any reason.

Once you have the tools in-hand, simply remove the lug nut covers and any screws or retainer rings used to secure the wheel simulator.

Pacific Dualies

Your Trusted Resource for RV Wheel Simulators

We have the knowledge and experience to help you find the right wheel simulator for your RV, and our videos are designed to make installation and removal as easy as possible. With our selection of high-quality RV wheel simulators, you can rest assured that your wheels will look their best while providing dependable performance.

Shop Pacific Dualies for Durable, Easy-to-Maintain Wheel Simulators Today!

BACK TO TOP